Go Back
Snow Ice Cream Recipe
Admin

Snow Ice Cream Recipe

Snow Ice Cream is a magical and easy-to-make winter dessert that brings joy to kids and adults alike. Made with freshly fallen snow, sweetened condensed milk, and vanilla extract, this no-cook treat comes together in minutes and delivers creamy, sweet satisfaction with every spoonful. Whether you're stuck inside on a snow day or just looking to make the most of a winter wonderland, this nostalgic recipe is a perfect excuse to head outside and scoop up some fresh snow. It’s pure, simple fun—and absolutely delicious.
Prep Time 5 minutes
Total Time 5 minutes
Servings: 4
Course: Dessert
Calories: 220

Ingredients
  

  • 8 cups fresh clean snow (or shaved ice)
  • 1 14 oz can sweetened condensed milk
  • 1 teaspoon vanilla extract
  • Pinch of salt optional

Method
 

  1. Go outside and scoop up 8 cups of clean, fluffy snow. Avoid any discolored or icy patches. You can also freeze a metal bowl ahead of time to help keep the snow from melting too quickly.
  2. In a large mixing bowl, pour the sweetened condensed milk and vanilla extract over the snow. Add a pinch of salt if desired—it helps enhance the flavors. Stir gently with a spoon or spatula until fully combined and creamy. Be careful not to overmix, or the snow may melt and turn slushy.
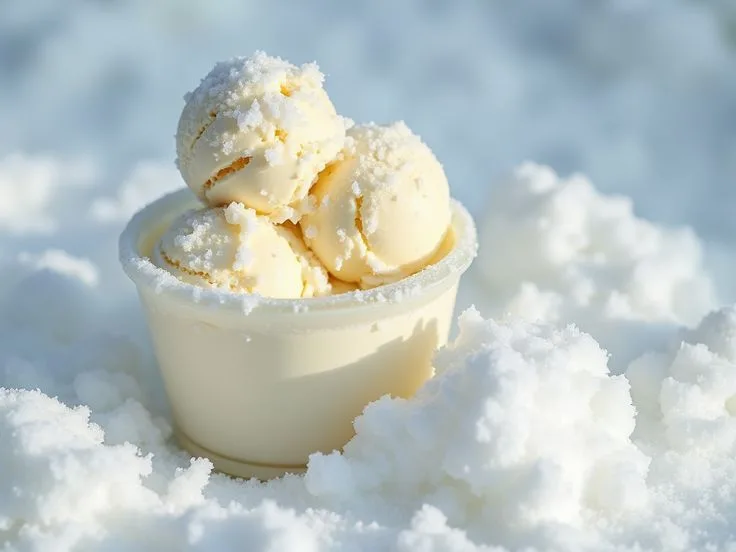
  3. Scoop into bowls and serve right away for the best texture. You can top it with chocolate syrup, crushed cookies, sprinkles, or a dusting of cinnamon if desired.
  4. Snow Ice Cream is best eaten fresh. It will start to melt quickly, so don’t wait too long to dig in.

Notes

  • Immediate Enjoyment: Snow Ice Cream is meant to be enjoyed right after it’s made.
  • Short-Term Freezing: If you must store it, place in a freezer-safe container and freeze for 1–2 hours. Note that the texture will change and become more icy.
Avoid Long-Term Storage: The snow-based texture does not hold up well over time