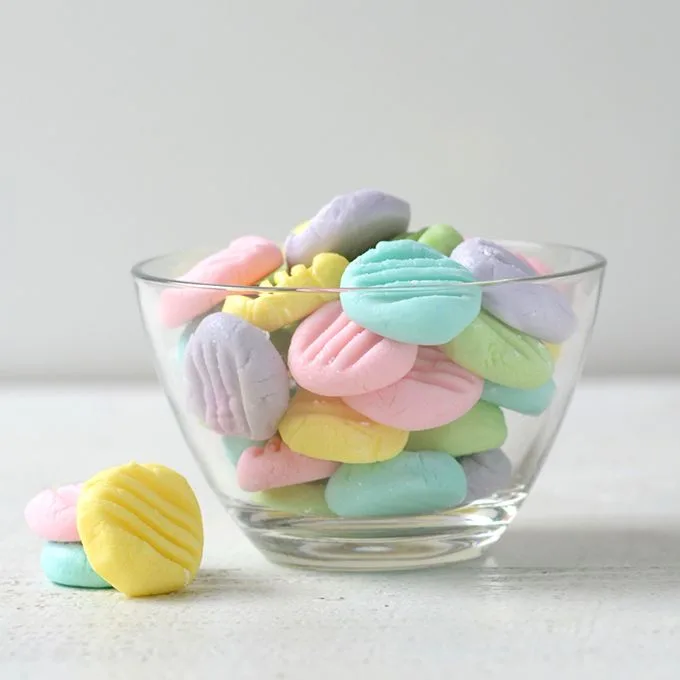
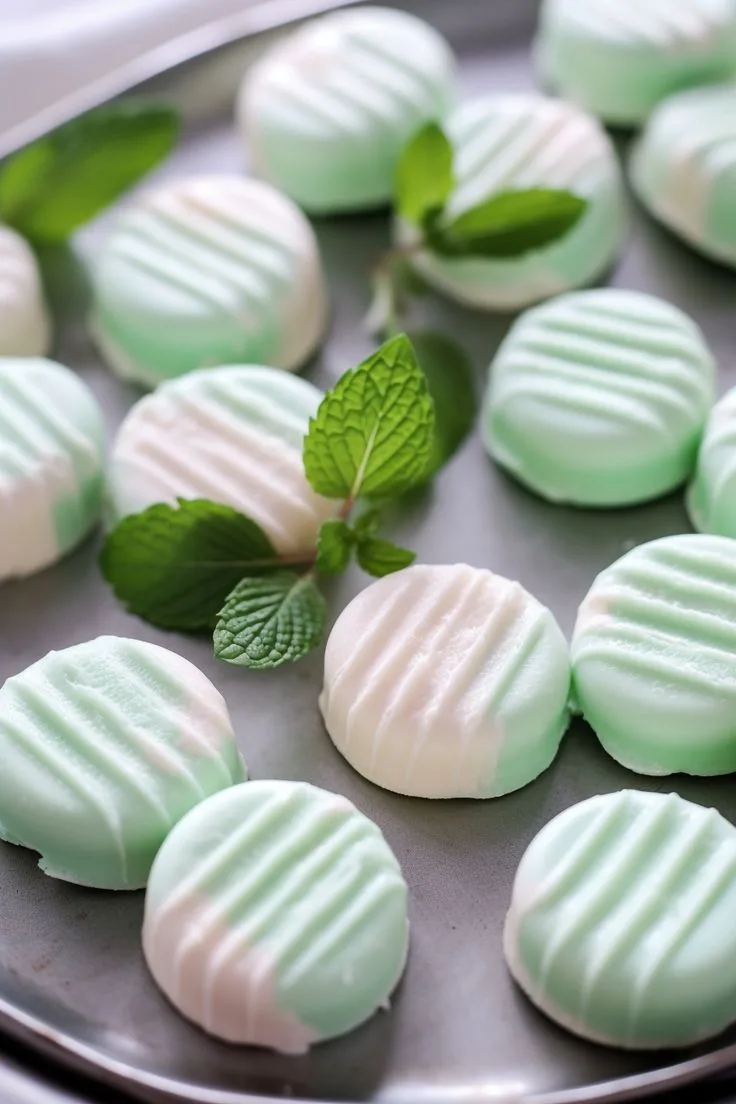
Wedding Mints are a timeless confection that add charm and sweetness to any special occasion. These pastel-colored, creamy mints are traditionally served at weddings, showers, and holiday gatherings. Made with simple ingredients like cream cheese, powdered sugar, and mint extract, they’re soft, delicate, and full of refreshing flavor. Whether shaped into roses, pressed with a fork, or rolled into simple balls, wedding mints are easy to customize and always elegant on the dessert table.
What Makes This Recipe Special?
Wedding Mints are no-bake, easy to prepare, and completely customizable in flavor, color, and shape. Their creamy texture and light mint flavor make them incredibly addictive, while their appearance adds a refined touch to any celebration. You can make them in any color to match your party theme, and they store beautifully, making them ideal for make-ahead preparation.
Cooking Time
- Prep Time: 20 minutes
- Chill Time: 2 hours (or until firm)
- Total Time: 2 hours 20 minutes
- Servings: About 60 small mints
Ingredients
- 4 oz cream cheese (softened)
- 4 cups powdered sugar (plus more for dusting)
- ½ teaspoon peppermint extract (or spearmint)
- Food coloring (optional)
- Granulated sugar (for coating or pressing)
Instructions
1. Mix the Base
In a mixing bowl, beat the softened cream cheese until smooth. Add the peppermint extract and mix well.
2. Add the Sugar
Gradually add powdered sugar, one cup at a time, mixing until a thick dough forms. The dough should be soft but no longer sticky. You may need slightly more or less powdered sugar depending on humidity and your cream cheese.
3. Color and Shape
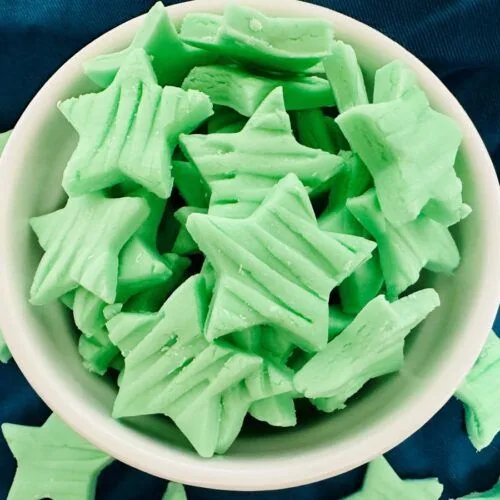
Divide the dough if using multiple colors and knead in a few drops of food coloring. Roll into small ½-inch balls, then press with a fork, mold into shapes, or use candy molds for decorative patterns. Dip the fork or molds in granulated sugar to prevent sticking.
4. Chill to Set
Place the shaped mints on a parchment-lined tray and refrigerate for at least 2 hours, or until firm. Store in an airtight container.
Variations
- Flavor Options: Swap mint extract with almond, vanilla, or lemon for different tastes.
- Decorative Touches: Use pearl dust or edible glitter for a festive look.
- Festive Shapes: Press into silicone molds with flower, heart, or holiday shapes.
- Color Combinations: Match your wedding or party theme with multiple pastel shades.
Equipment You’ll Need
- Mixing bowl
- Electric mixer or hand whisk
- Measuring cups and spoons
- Food coloring (gel preferred)
- Fork or candy molds
- Parchment paper
- Airtight container for storage
Nutritional Information (Per Mint)
- Calories: ~35
- Fat: 1g
- Carbohydrates: 6g
- Sugar: 6g
- Protein: 0g
Based on small, ½-inch mints.
Storage Tips
- Refrigeration: Store in an airtight container in the fridge for up to 2 weeks.
- Freezing: Freeze for up to 2 months. Place wax paper between layers to prevent sticking.
- Make Ahead: Perfect for preparing days or weeks in advance—ideal for stress-free party planning.
My Cooking Experience
With over 4 years in the kitchen, I’ve made countless batches of wedding mints for showers, receptions, and seasonal events. The simplicity of the recipe and the joy it brings never wears off. I love customizing the colors and flavors depending on the occasion. Whether molded into roses or simply pressed with a fork, these mints always earn compliments and disappear quickly.
Conclusion
Wedding Mints are more than just a nostalgic treat—they’re a beautiful, creamy addition to any celebration. With their customizable look and classic flavor, they add an elegant touch to dessert tables and make for thoughtful edible gifts. Easy to prepare and loved by all, this recipe is a must-have in your collection. Try them once, and you’ll be reaching for it again every holiday and special moment.
Wedding Mints
Ingredients
Method
- In a mixing bowl, beat the softened cream cheese until smooth. Add the peppermint extract and mix well.
- Gradually add powdered sugar, one cup at a time, mixing until a thick dough forms. The dough should be soft but no longer sticky. You may need slightly more or less powdered sugar depending on humidity and your cream cheese.
- Divide the dough if using multiple colors and knead in a few drops of food coloring. Roll into small ½-inch balls, then press with a fork, mold into shapes, or use candy molds for decorative patterns. Dip the fork or molds in granulated sugar to prevent sticking.
- Place the shaped mints on a parchment-lined tray and refrigerate for at least 2 hours, or until firm. Store in an airtight container.
Notes
- Refrigeration: Store in an airtight container in the fridge for up to 2 weeks.
- Freezing: Freeze for up to 2 months. Place wax paper between layers to prevent sticking.


